Want to tell the story of your baby’s birth and first memorable moments in a photobook that you’ll treasure forever? Here’s an easy way to create one.
1
Use a variety of photos
This is one of the keys to a successful baby book. Make sure you have more than just close-up portraits—a variety of shots will help keep your album interesting. Use different perspectives, types of framing and subjects. For example, include photos of their tiny feet, the beanie that grandma knit, or their favourite toys.
If your baby has already grown bigger and you didn’t think to take these photos in their first months, you can still reframe your photos. Whether using photo editing software like Photoshop or directly online when creating your album, you can reframe your photos to focus on smaller details.
Here’s an idea: reserve a section for black and white photos as these pictures will hide the reddish tint often seen in newborns’ skin and add an artistic touch to your book.

2
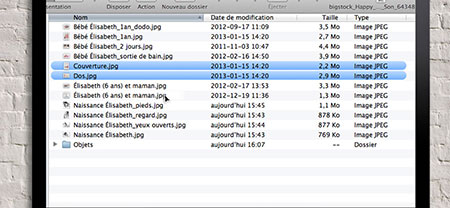
Get organized
First step: save your photos in a new file, remove any duplicates and rename the pictures. This will make it easier to find them if you decide to change the layout at the last minute.
Choose your front and back covers. These may well be your two most difficult choices, so it’s a good idea to take your time here.
If you want to include comments or anecdotes with certain shots, prepare your texts ahead of time and include the document in your file.
Don’t worry if you haven’t found THE perfect photo for your project. You can still begin your book as the software allows you to save your work. You can always come back and add a new photo later, before you print your book.
3
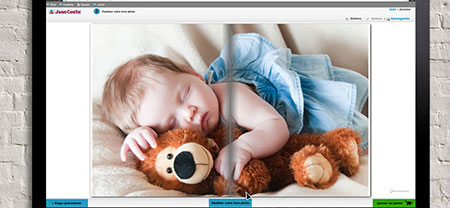
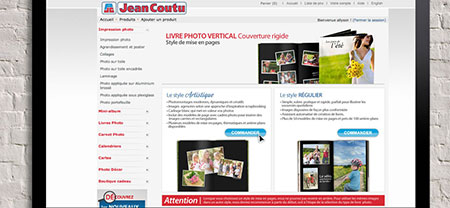
Choose your format
It’s now time to choose your book’s format. Soft or hard cover? Vertical or horizontal? What about square? Artistic or classic style?
If you want a book with photos that are angled or overlapping, similar to scrapbooking, choose an artistic layout. If you prefer a more traditional style, opt for a classic layout.
4
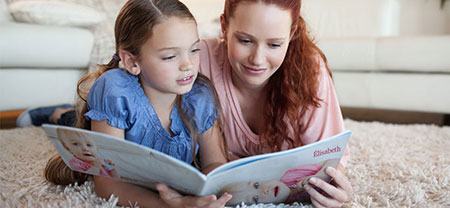
Tell a story
The final step is to place the photos in the order you want. A baby’s birth and first steps work particularly well in chronological order, but it’s not mandatory either. In general, it’s a good idea to maintain a structure throughout the book by repeating certain layouts.
You can also add little comments that recount key moments to help the book tell your baby’s story.
Tips
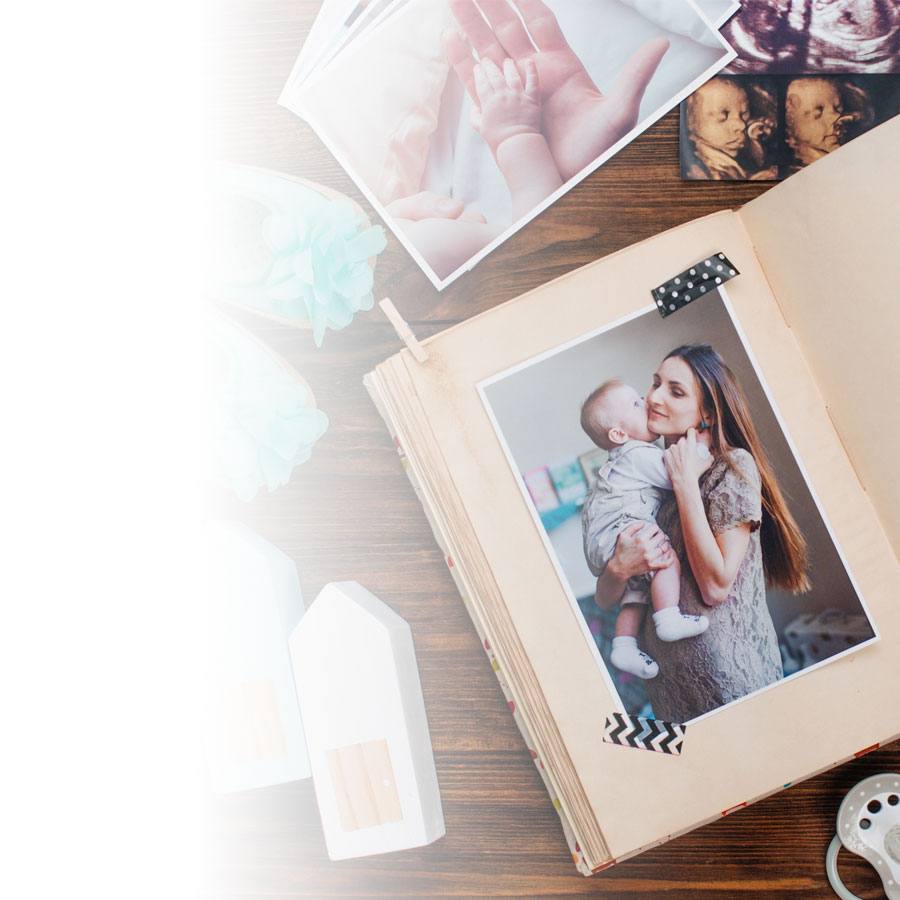
- Plan a section at the beginning of the book that shows the preparations for the baby’s arrival: their bedroom, mommy’s tummy, the ultrasound, etc.).
- Think about digitizing certain documents or memories, like their tiny hospital bracelet.
- Keep a blank page for your baby’s handprint or footprint.
- Include members of your extended family by placing photos of the first time grandpa or grandma held your baby in their arms.