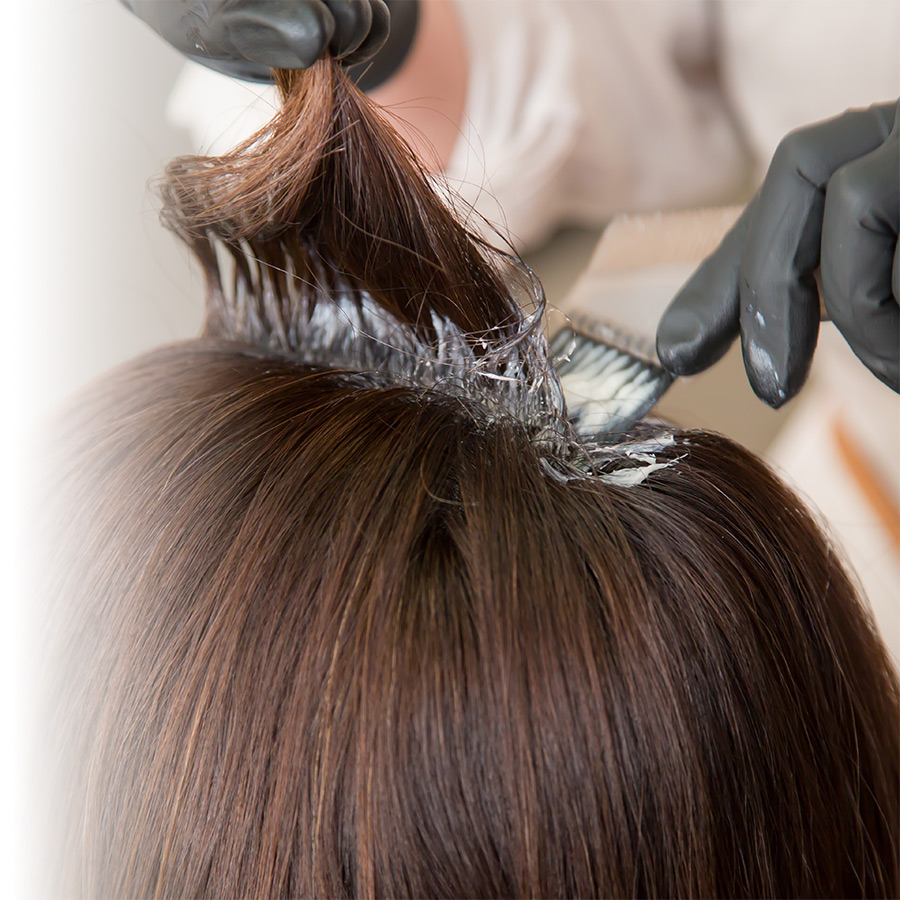
You want to hide your roots but don't want to make an appointment with a colourist? No problem! Whether you want to redo your entire hair colour or just touch up your roots, you choose your game plan for salon-quality results.
Plan 1: Operation roots, for a day (or an evening)
An important meeting or a cocktail party on the agenda? Temporary root touch-up products are just what you need. Practical and mess-free, they even cover white hair with a fine cloud of coloured powder, and disappear in the wash like dry shampoo.
How do I apply root dye to my hair?
Whether you choose a spray formula or one with a sponge applicator, the principle is the same: Apply a small amount of colour to the roots and temples, allow to dry for a few minutes, then brush gently to blend. If necessary, set the pigments with a veil of natural-holding hairspray.
If you have never used a similar product before, it is always a good idea tocheck that the shade will match your hair colour. Spray a little product on the back of your hand to check the colour and estimate how much you will need; however, it's best to test directly on the areas to be covered, even if it means washing it off afterwards if you're not satisfied with the result.
How to hide your roots?
If you want to stretch the time between colourings and hide hair regrowth, choose a permanent formula, which will provide uniform colour and full coverage that will blend seamlessly into your hair. Application consists of a few simple steps: mix the dye according to the instructions, apply to dry hair and leave on for ten minutes before rinsing. In less than half an hour, it's done!
When choosing your product, be sure to refer to the colour chart on the box to select the right shade. (Remember, your roots are virgin hair, so the resulting colour will probably be lighter and more vibrant). You can also check out our article Touch up your hair colour quickly and easily for more details.
Plan 2: The entire head
A home hair colouring session takes preparation! Before taking the plunge, be sure to do an allergy test and gather the right equipment:
- Petroleum jelly to protect your ears, forehead and temple areas;
- A fine-tooth comb to make defined sections;
- A towel that you can stain;
- The products and applicator included in the dye box.
Is your hair long or thick? It is best to plan ahead with two boxes of hair colour, so as not to be caught unprepared along the way.
On the big day, there are three golden rules:
- Apply the dye starting from the back of the head. Avoid prolonging the exposure time at the front, which would result in a much more pronounced, or darker, shade close to the face.
- Proceed strand by strand, taking a quarter-inch thickness at a time and starting by covering the roots.
Follow the application instructions in the box. This goes for mixing the dye and for the application time, as well as for the application of the post-colour conditioner—a step not to be neglected, even if you can't wait to see the result!
What is the best root touch-up for white hair?
White hair, often more resistant, requires special attention. Here are two effective options to suit your needs:
For long-lasting coverage, choose a permanent hair dye specifically formulated for grey or white hair. These formulas often contain ingredients that enhance pigment adhesion. Apply generously to the roots, making sure to follow the recommended processing time carefully.
A quick reminder: White hair can slightly alter the final shade. Choose a slightly darker shade to avoid overly light highlights.
Whether you need a bit of camouflage or long-lasting colour, there is an at-home solution for every root, even grey hair! With the right products and the right steps, your colour can shine once again—without leaving the house.


