Full fringes or small clusters of false lashes are the best buddies of your evening or daytime looks. But how do you position them without going to a lot of trouble? Virginie Vandelac shares her pro tips!
The Full Fringe
Start by adjusting the size of the fringe–it’s probably much wider than you need. The false lashes shouldn’t go further than your natural lashes on the inside or outside of the eye. Use a small pair of scissors to trim them.
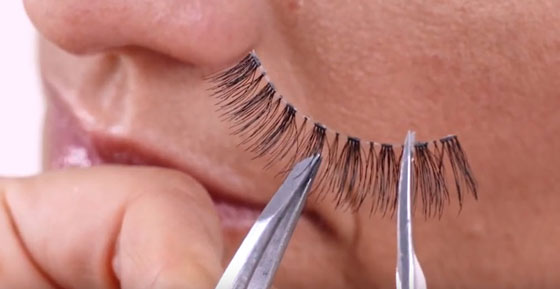
To achieve a natural look for the fringe, it should be shorter toward the inside–but only trim the outside, where it’s the longest. Deposit a thin layer of glue on the edge of the fringe with the help of the end of the tube if necessary. Let the glue dry a little, for about ten seconds, before applying the fringe to your eyelid: the glue adhere better and it will be less likely to run into your eye.
Deposit a thin layer of glue on the edge of the fringe with the help of the end of the tube if necessary. Let the glue dry a little, for about ten seconds, before applying the fringe to your eyelid: the glue adhere better and it will be less likely to run into your eye.

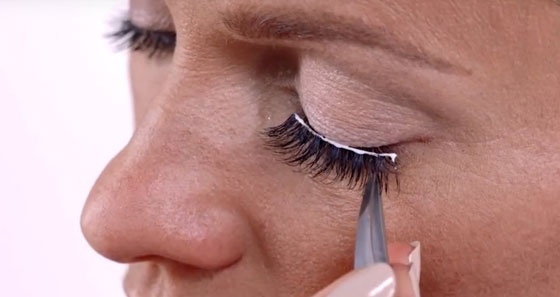
To avoid gluing your fingers or damaging the false eyelashes, use tweezers: a light and delicate grip is best.
Apply the false lashes as closely as possible to the roots of your natural lashes. Apply a bit of gentle pressure to the centre so that they stay in place and then apply some pressure to the sides. Then just let the glue dry.
To make things easier, instead of working in front of the bathroom mirror, looking straight ahead, place a small mirror on the counter. By looking down, you’ll get a better angle to see what you’re doing.
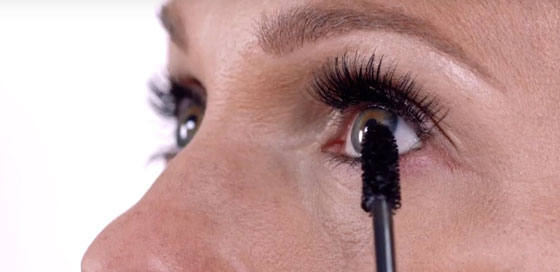
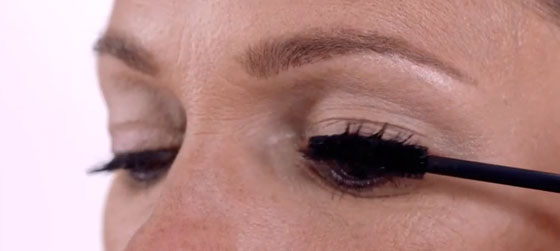
Once the glue is dry, it’s time to do the finishing touches. False eyelashes and natural eyelashes should blend harmoniously and the key to this is applying a layer of mascara using zigzag movements with the wand. If there are any traces of glue left behind, a little eyeliner will easily hide them. And you’re done! How easy is that?
Individual false lashes
When using individual false lashes, start by applying mascara to your natural lashes. It will make them more rigid and provide a "support" for the false eyelashes.
When deciding length, use your natural lashes as a guide. Most packs contain different sizes for more flexibility. As for how many to apply, it depends on the look you want. The more clusters you apply and the closer they’re placed, the more intense and dramatic your look will be.
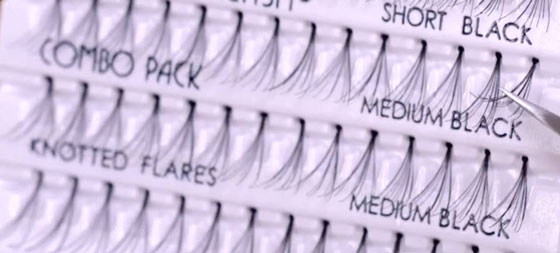
Usually, two or three shorter clusters for the inside and three or four longer clusters for the outside work well.
Apply the clusters one by one with a drop of glue at the ends, adhering them as close to the roots of your natural lashes as possible. Take care to arrange the lashes in ascending length, shorter inwards and longer outwards.
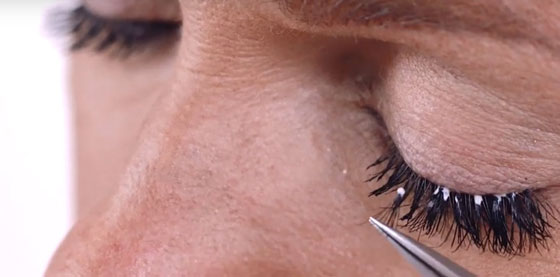
Use a little liner if you want. Because the glue isn’t usually visible on individual false eyelashes, using eyeliner isn’t essential but it can add some drama to your look.
