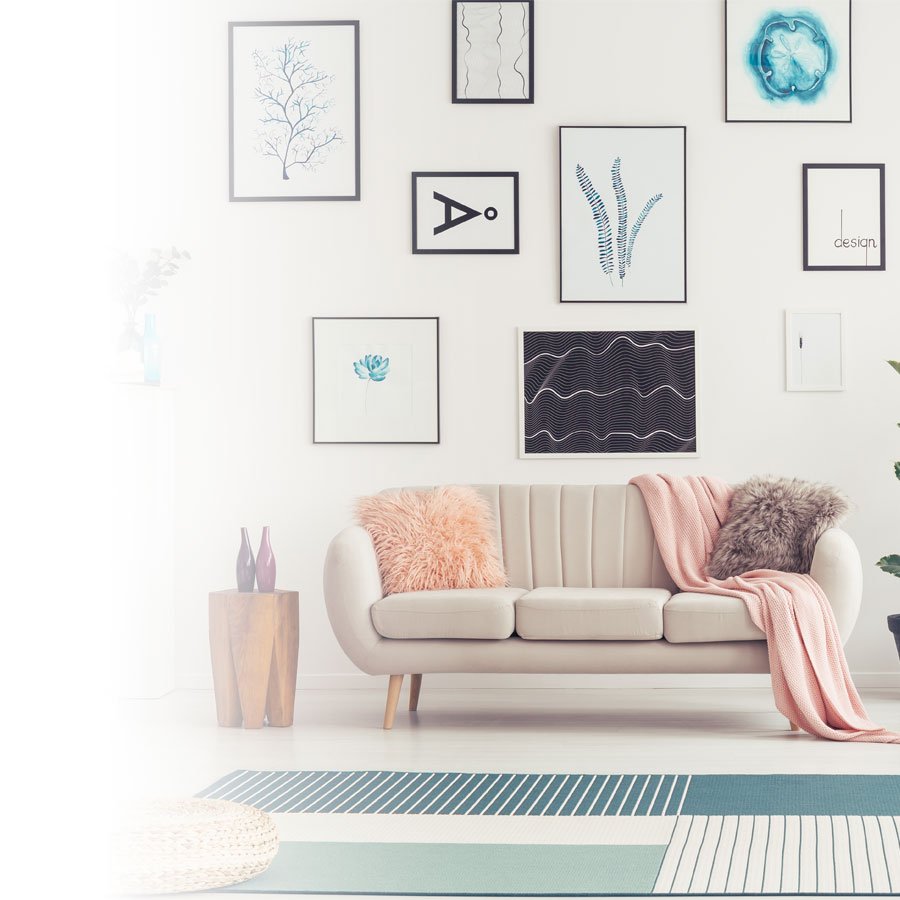
A beautifully framed wall photo is nice…but an entire wall of artfully arranged photos is even better! Follow these 5 steps and decorate your wall like a pro! Oohs and aahs guaranteed!
1
Choose a theme
Family first
Before hanging up your frames, you have to decide what to put in them! Of course, most people immediately think of filling their frames with family photos. Grab all your photo albums and sort through them. What’s great about a gallery-style photo wall is you don’t have to stick to same-style photos. Portraits, group shots, in colour, black and white, small or big…anything goes! You can’t go wrong and you can change it up whenever you feel like it.
An eclectic mix
You don’t have to stick to family photos. Mix it up! For example, you could add some photos of your last trip. You’ll find a way to include that photo you love—even if it doesn’t necessarily fit with your theme.
Paintings and mirrors
A gallery wall doesn’t only have to display photos. Paintings, drawings, prints and mirrors can all add a stylish touch to your wall.
2
Choose a style
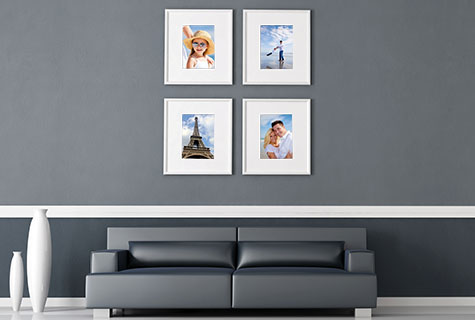
Asymmetrical design
If you like everything to be just so, opt for identical frames (same size, shape, colour and finish) and design a classic, clean, composed wall.
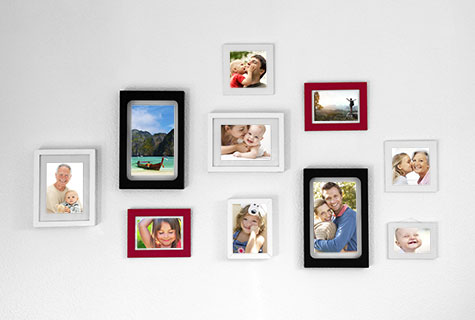
Mix-match design
Want something a little different? Go wild! Choose a variety of different frames and photos and create a wall that is both funky and stylish.
Showstopping staircase
Another option is to have your photos cascade down your staircase wall. Arrange your photos so that they tell a story. For example, display photos of your child’s growth year by year by placing the oldest photos near the bottom of the stairs and the most recent at the top.
3
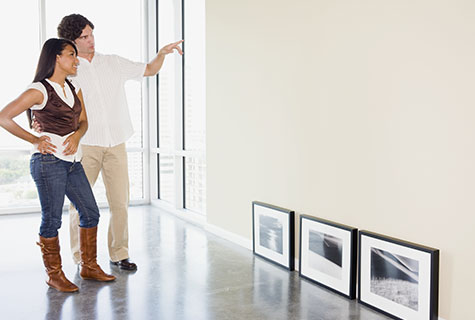
Try it on for size
Before making any holes in your wall, arrange your frames on the floor and play around with them until you find the perfect layout. When you’re sure of how you want to display your frames, start hanging!
4
Place the biggest in the centre
Start by sorting through your frames. The biggest should always be placed in the centre of your layout with the smaller ones surrounding them. A good rule of thumb is to always start in the middle and work your way out.
5
Find balance
Finding the perfect balance between size, shape and finish can be challenging—it’s easy to get lost in the possibilities. For a balanced layout, try finding a common thread: a particular theme, identical frames or colour scheme.