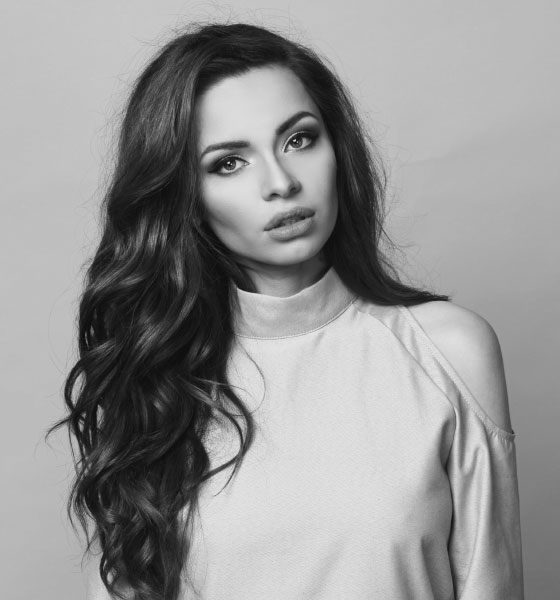
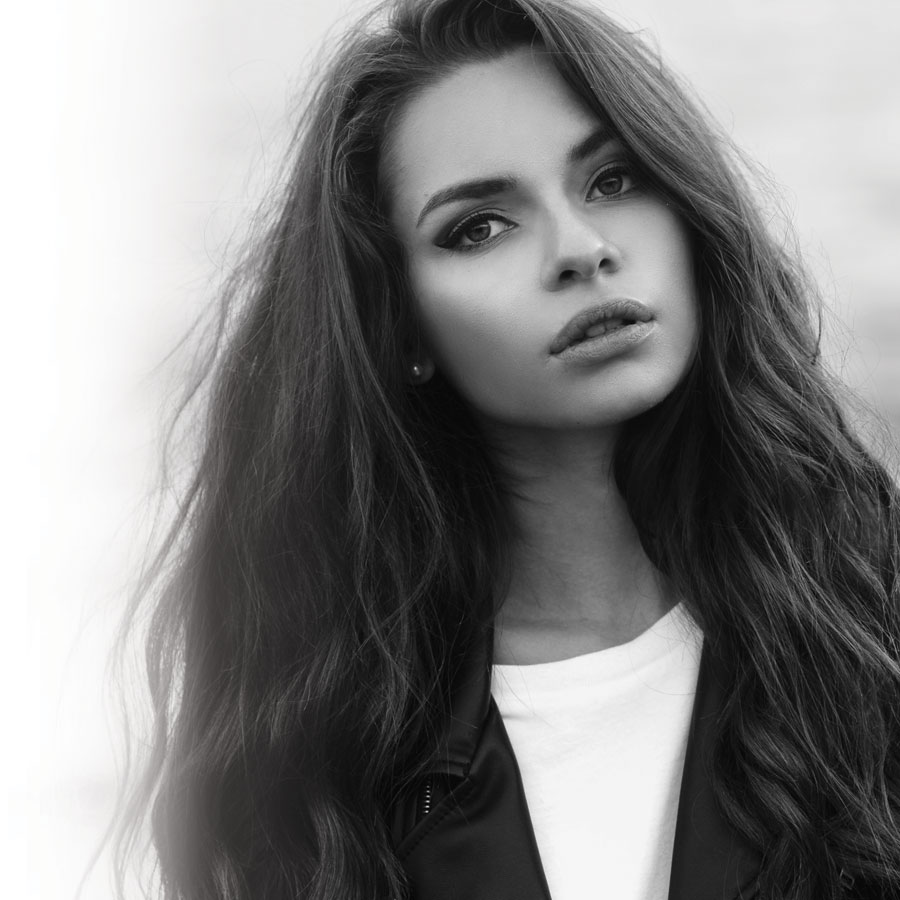
A star favourite for several seasons (think of Selena Gomez’ signature look), the S wave is here to stay. And for good reason. Combining the glamour of Old Hollywood and the casual elegance of the beach effect, this versatile hairstyle is great for any setting. Here are a few (super easy!) ways to achieve it:
THE IRON-FREE METHOD
- While your hair is still damp, thoroughly apply a texturizing gel.
- Dry your hair strand by strand using a big, round brush. Take care to lift your hair by holding the brush at a 90-degree angle.
- Roll the strand you just dried around itself and pin it to your head, letting it cool in that position to set the curl.
- Once all your hair is curled, remove the pins and let your locks cascade down. Next, delicately comb through the locks with a wide-toothed comb to disperse the curls.
- Set your style with the hairspray of your choice.
THE FLAT IRON METHOD
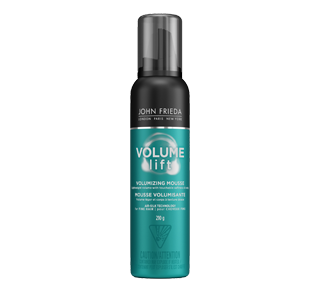
- Unlike the previous method, this one is done with dry hair. This is vital. You don’t want to scald your hair with the heat of the iron! Dry your hair completely after applying a thermo-protective product and, if necessary, a little volumizing foam.
- For this method, forget how you normally use your iron (by sliding it along the strands.) For an S wave, pinch the hair by opening and closing the iron. Grab a lock of hair an inch wide for the first “pinch,” starting about half an inch from your scalp. Vary the width depending on the look you want: wider for looser waves, thinner for tighter ones.
- Next, create an S shape with your lock of hair and pinch the curves to set them. Don’t forget to pinch, then release, pinch, and so on. Repeat this for each lock of hair.
- Finish with a hairspray that offers long-lasting hold. Be sure to use a natural-effect product that provides a little movement while maintaining the shape of the waves.
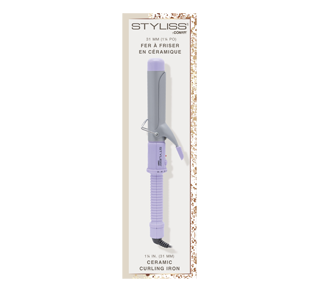
WAVES WITH A CURLING IRON
- You’ll need the hairdryer for this method, too. Make sure that your hair is as straight and smooth as possible. If you’re worried about not having volume at the roots, give the hair some lift with a blast of cold air.
- Separate your hair into three sections (one underneath and two at the top of the head, holding them in place with clips). Work a small section of hair at a time to make this step easier.
- Spritz a little texturizing spray on the bottom section. One by one, roll a one-inch lock around the curling iron, preferably one without a clamp (so you can get close to the roots). Hold the iron in place for 15 to 20 seconds before releasing.
- Repeat these steps for the other two sections. For a more natural look, be sure to change the direction of the curls from one section to the other.
- Loosen the curls with a little lukewarm air or by gently brushing them, being careful not to undo them completely! Spritz on some hairspray and you’re done!