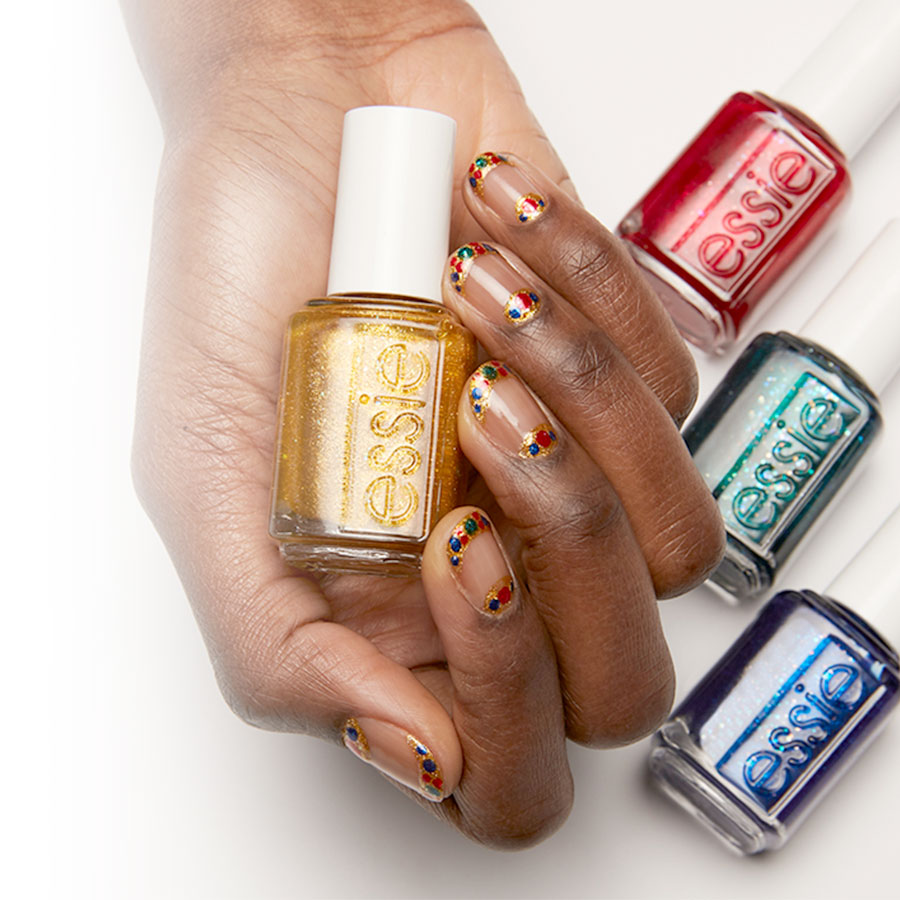
Vintage jewelry makes the perfect inspiration for a final touch to your evening dress. Just follow the steps and you’ll have this arty accessory at your fingertips!
The look, step by step.
1. Start by applying a base coat: this step is essential for protecting your nail and creating a surface that’s non-porous to ensure your nail colours retain all their intensity!
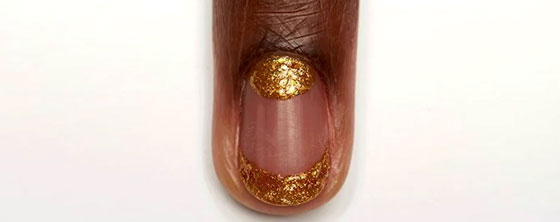
2. Start with a golden colour to create a half-moon at the base of your nail and to trace the end of your nail, as they do in the classic French technique. Because you’re working on such a small space, you might want to use a precision brush (and keep a cotton ball soaked in nail polish remover close at hand!).
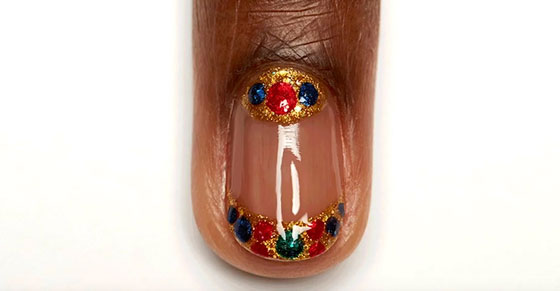
3. 3-step decoration with glittery highlights:
- Create a red dot in the centre of the half-moon and two red dots at the end of your nail, one on either side of centre.
- Create a green drop between the two red dots.
- Draw tiny blue dots on either side of the red dots, on the half-moon and at the end of your nail.
4. To ensure your nail art lasts all night long, seal it with a layer of finishing gel.