Except at Halloween, nobody likes having red eyes in a photo. Unfortunately, this phenomenon often occurs when a flash is used to take pictures at night or indoors. Use this guide to ensure everyone's natural eye colours show up in your pictures.
A natural phenomenon
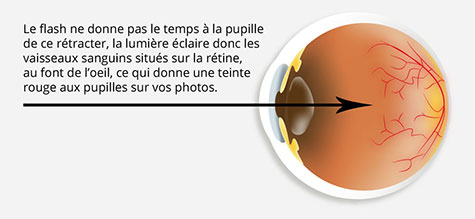
If the subjects in your pictures have red eyes, don’t blame your camera—it’s not its fault. When a photo is taken using a flash, your subjects’ pupils don’t have time to contract. As a result, the light shines directly onto the retina, located at the back of the eye, which contains a lot of blood vessels. It’s those blood vessels, lit up by the flash, that give your subjects’ pupils a red hue in your photos.
The curse of the flash
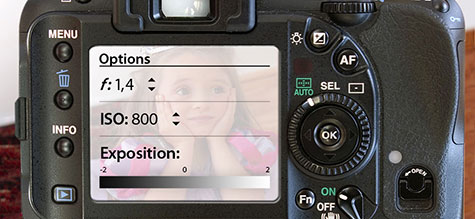
The flash is what causes the red-eye effect. So, switch it off and increase your camera’s aperture to the highest setting, then set the ISO to 400, so that more light gets into the lens. However, your camera will try to correct the filtered light on its own. To fix that, you will need to adjust the white balance, often found under WB. The easiest solution is to play with the various settings, then check the preview image on the camera’s display.
Use the anti-red-eye feature
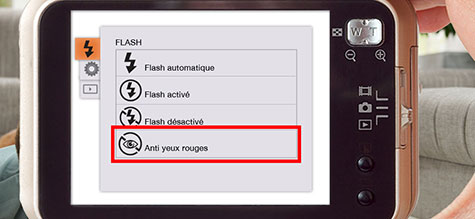
Can’t work without a flash? Use the red-eye reduction option available on many cameras. It fires an initial flash to make the pupils contract, followed by the actual flash. This system works well to remove red eye, as long as your subject doesn’t turn their head and looks straight at the first flash. The only downside to this method is that you lose some spontaneity in your pictures.
Move the flash farther away!
The lucky owners of an external flash have several options. The first is to hold the flash away from the lens. You can also use a remote to activate it. Lastly, you can hold the flash in such a way that it doesn’t shine directly on the subject, but on something to the side instead, like a white wall or ceiling. This way, you benefit from more diffused light while you take your photo straight on.
Tips for using point-and-shoot cameras
Even if you don't have the red-eye reduction feature on your camera, you can still adjust how you take your pictures, keeping its principle in mind. You can take them slightly off-centre to avoid sending light directly to the back of the eye, so that the blood vessels don't show. You can ask your subject to look quickly at a bright light, so that their pupils contract just before you take the picture. You can also turn on a few lights to make the room brighter, or even hold a sheet of white paper in front of the flash to better diffuse the light and reduce red eye. If you’re shooting outside, stand behind a light source, like a streetlamp, and ask your subject to look at it quickly before you take the picture.
Correcting red eye
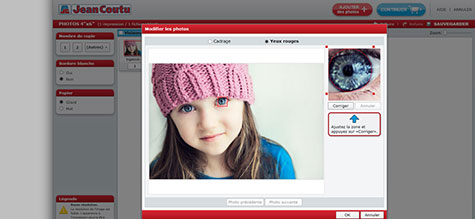
Despite your best efforts, do your subjects still have vampire eyes in the pictures you take? Don’t worry! Most photo processing software lets you fix red eyes in the pictures saved on your computer. Be careful, however, as the touch-ups you do will be visible when you zoom in on the edited photos. This service is also available at digital photo printing kiosks in Jean Coutu stores and with our online photo ordering software.
